





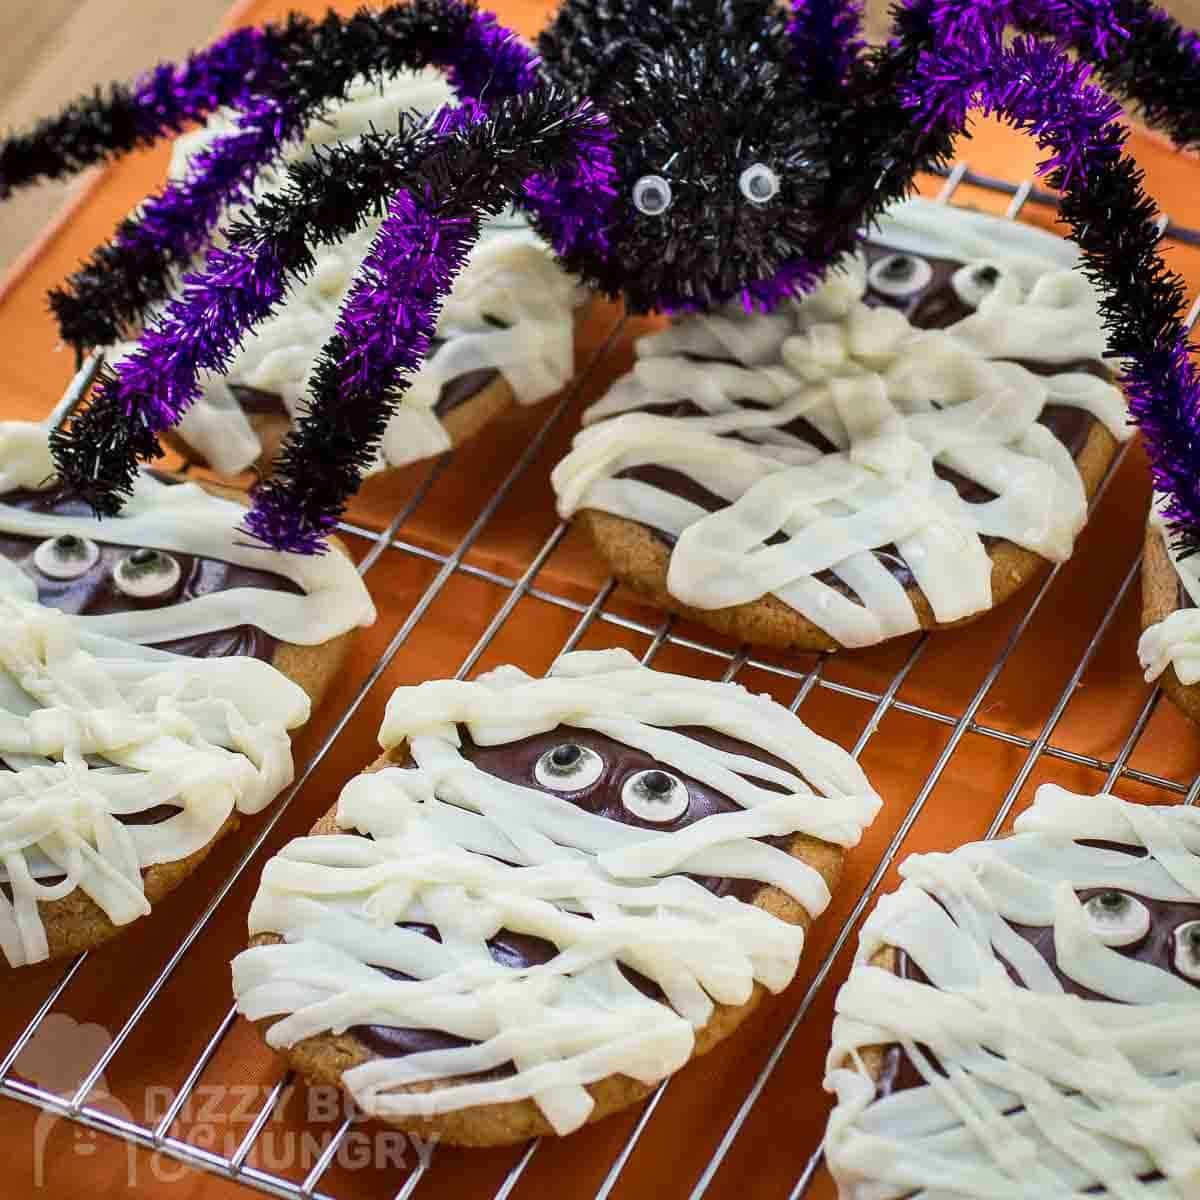
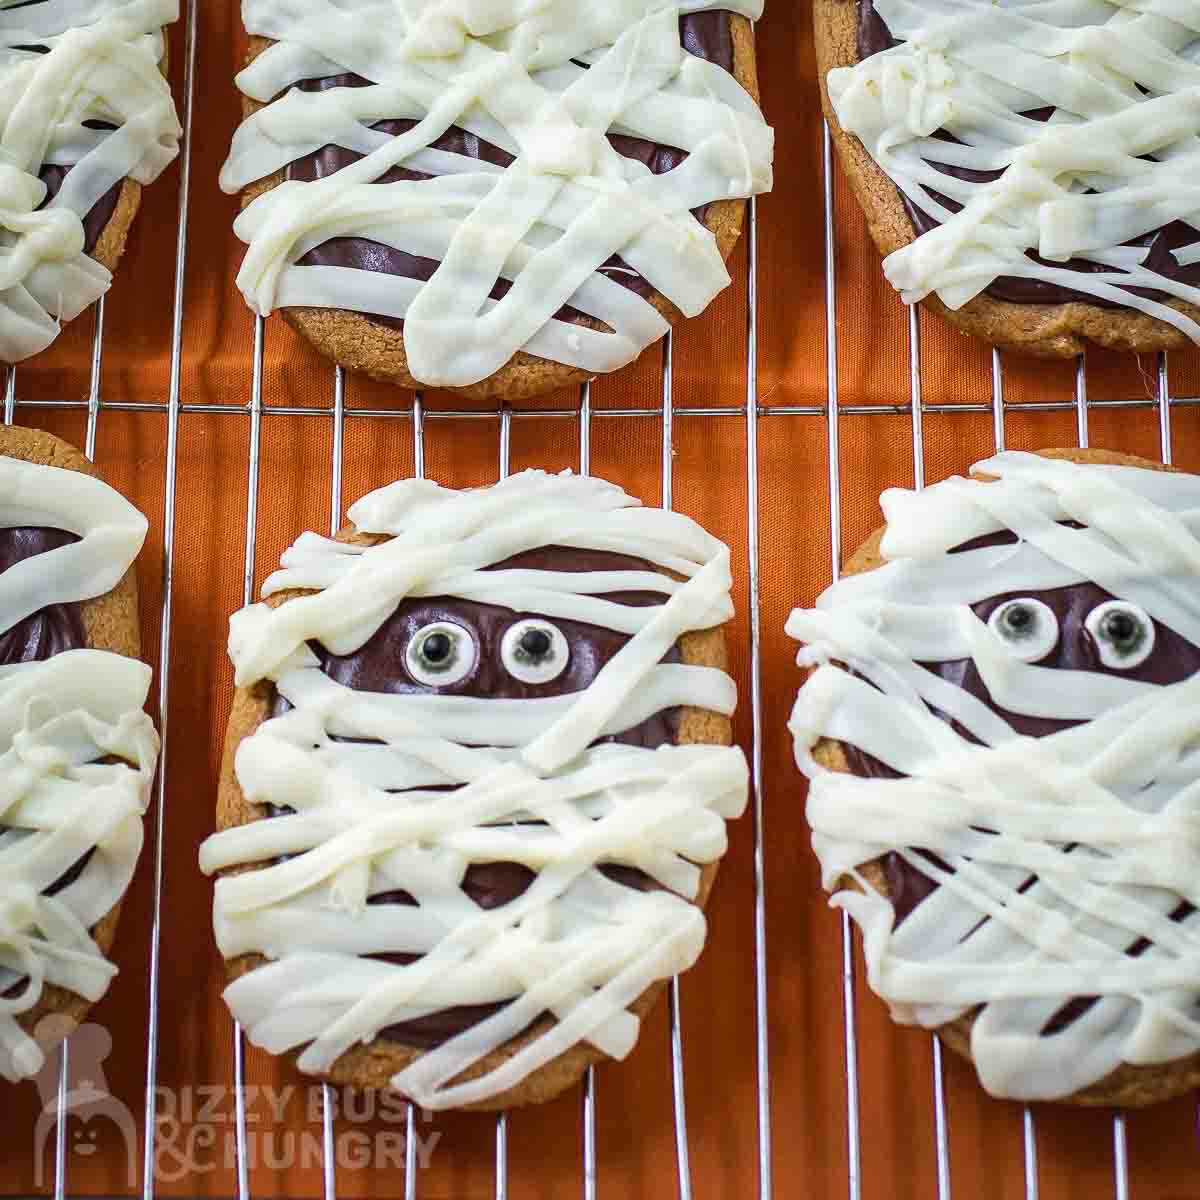
Make these Halloween Mummy Cookies for an adorable and delicious treat! Made with only 3 ingredients, these creepy cookies are fantastic for fall parties and movie nights.
Make them with your kids or grandkids for a great afternoon kitchen activity! Peanut butter cookies come together with semi-sweet and white chocolate chips for a cute dessert perfect for spooky season.
Jump to:
🩵 About This Recipe
Looking for a cute Halloween treat? This mummy dessert is so easy to make and perfect for Halloween parties, spooky movie nights, and more!
With a homemade peanut butter cookie dough and adorable "bandage" icing, these easy cookies come together in no time. Get the kids involved for a fun family activity and you'll end up with a batch of delicious and festive desserts for the Halloween season!
If you want to double down on the Halloween goodness, pair these with my No-Bake Witch Hat Cookies! And for another quick and delicious cookie recipe, my Chewy Peanut Butter Cookies never fail.
What readers are saying...
Not only are these cookies delicious, but they are also so adorable too! Perfect for Halloween parties.
- Sharon
🧂 Gather Your Ingredients
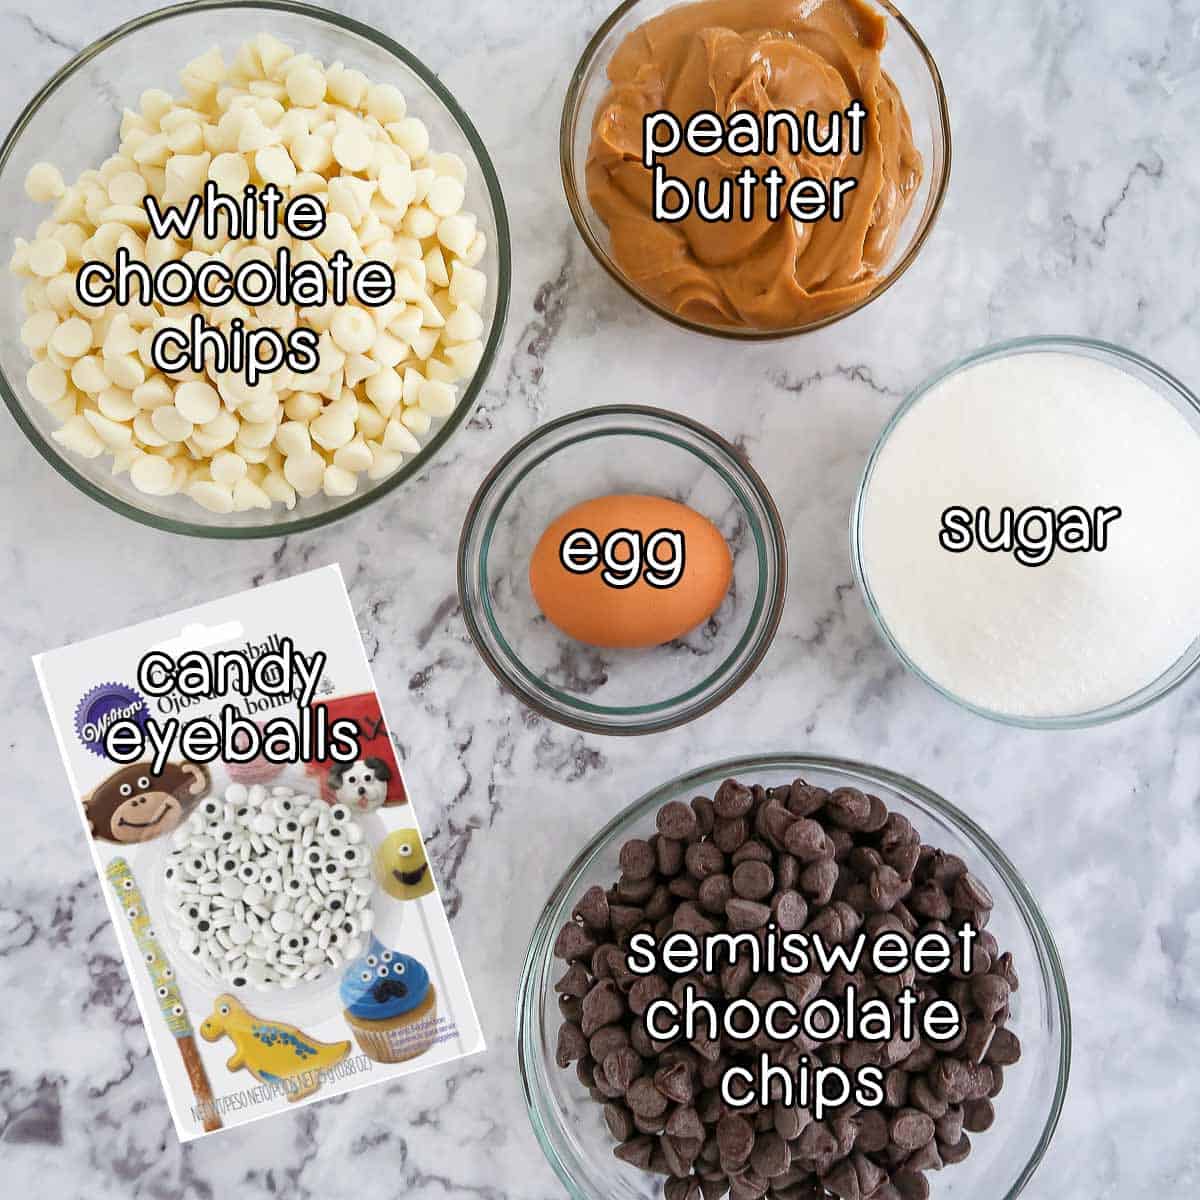
- peanut butter - you'll want to use creamy here.
- sugar - regular granulated sugar works just fine.
- egg - helps bind the peanut butter and sugar into a simple cookie.
- chocolate chips - what's better than the combination of chocolate and peanut butter?
- candy eyes - adorable little edible eyes that give your mummies so much character!
- white chocolate chips - you'll use these to create the mummies' "bandages."
🔪 Let's Make Halloween Mummy Cookies!
(Or click here to jump right to the recipe card with measurements!)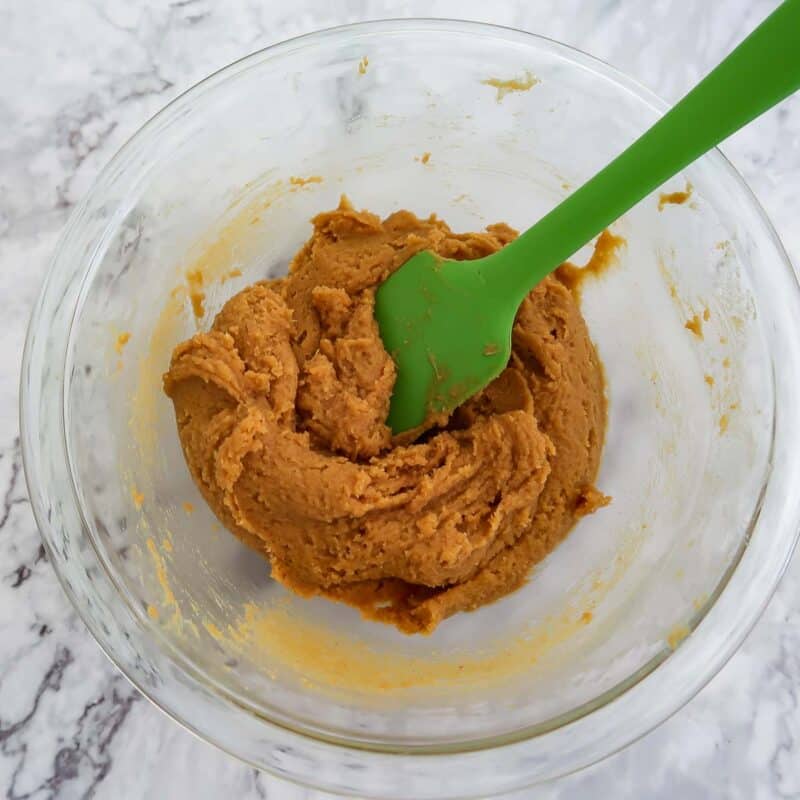
Make Dough
Place peanut butter, sugar, and egg in a bowl. Stir until combined.
Shape Cookies
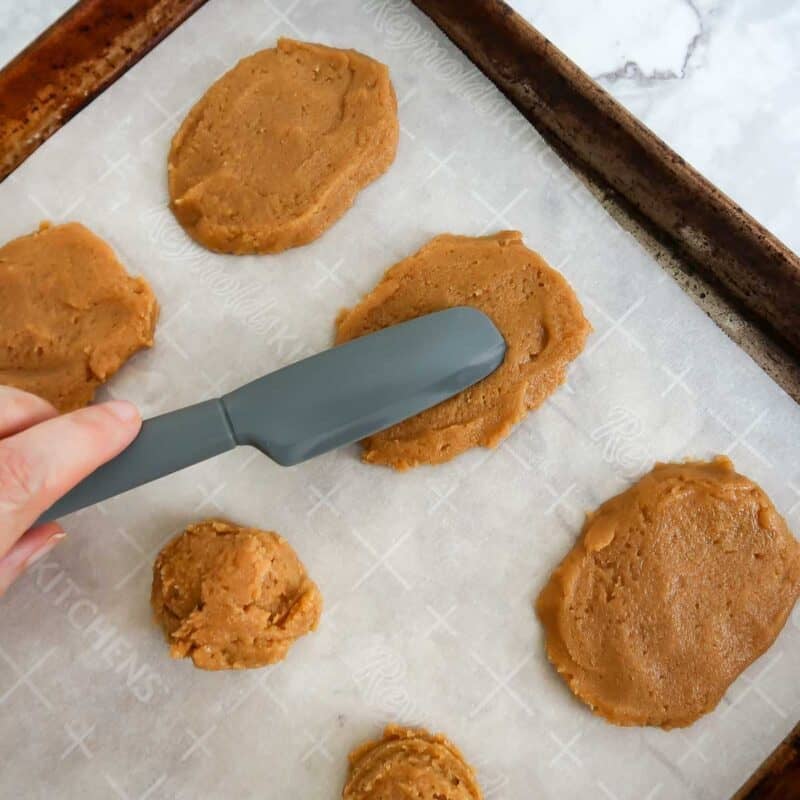
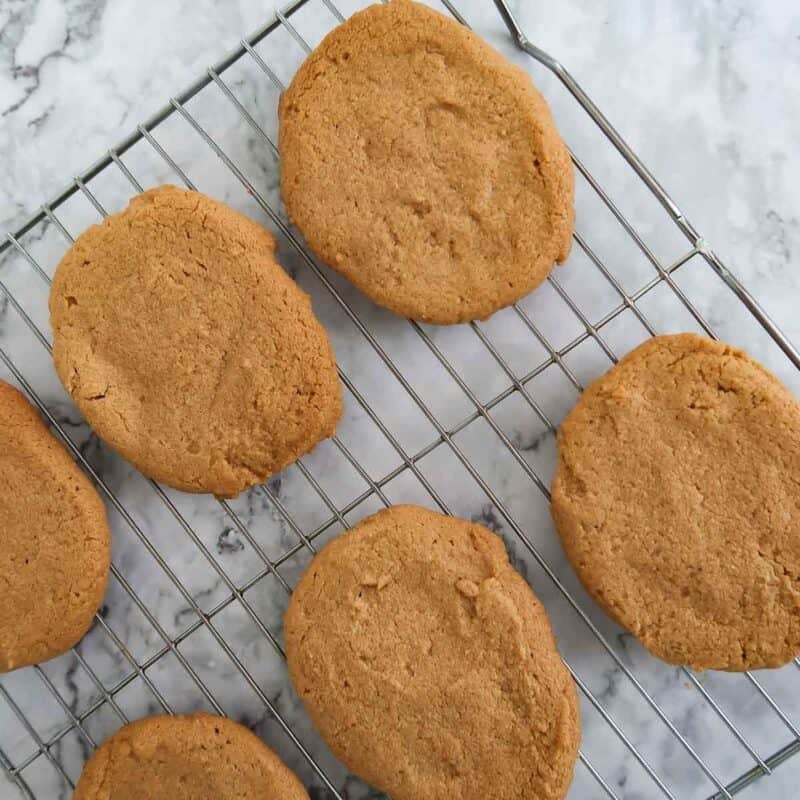
Scoop the dough onto a parchment-lined baking sheet. Flatten the dough into ovals.
Bake
Bake for 15 minutes at 375 degrees F until the cookies are matte and the edges are slightly brown.
Add Frosting
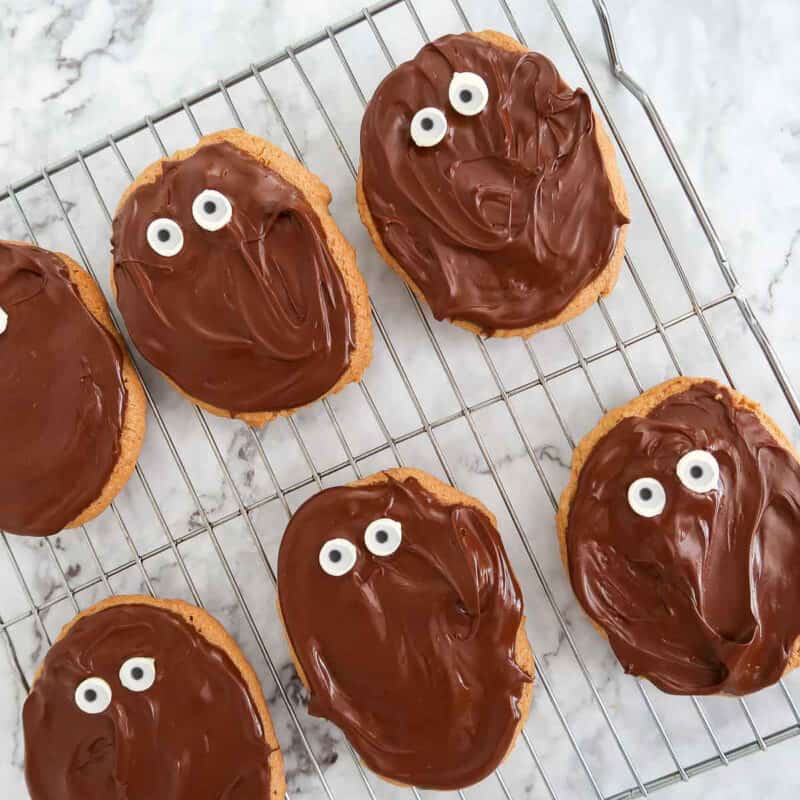
Melt the chocolate chips in the microwave and spread about a tablespoon of chocolate on each cookie, spreading it to cover the whole surface. Place the candy eyes on the cookies and freeze until the chocolate sets.
Melt White Chocolate
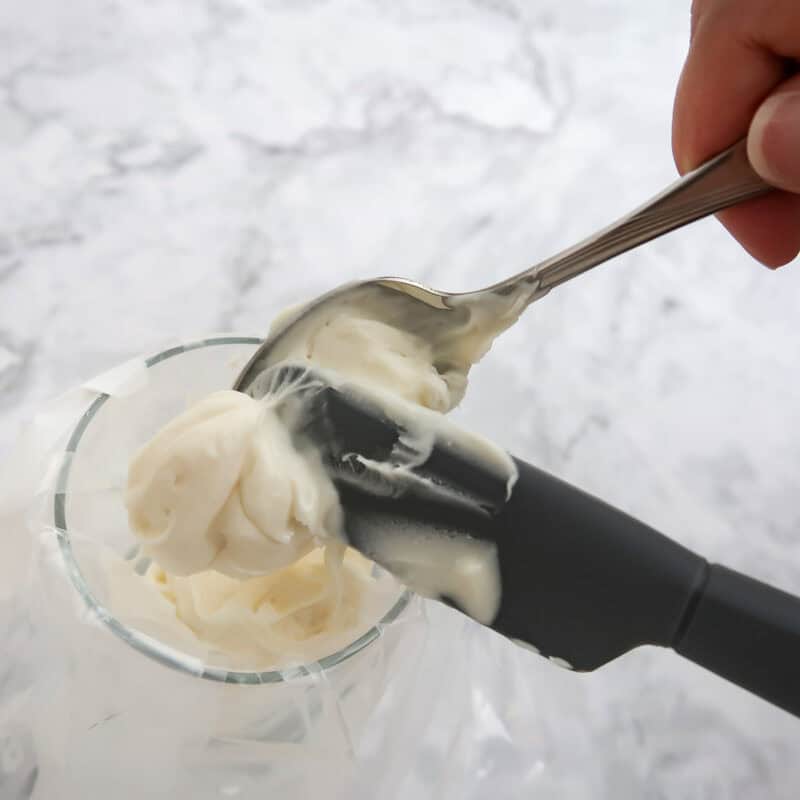
Repeat the melting process with the white chocolate and spoon it into a piping bag.
Make "Bandages"
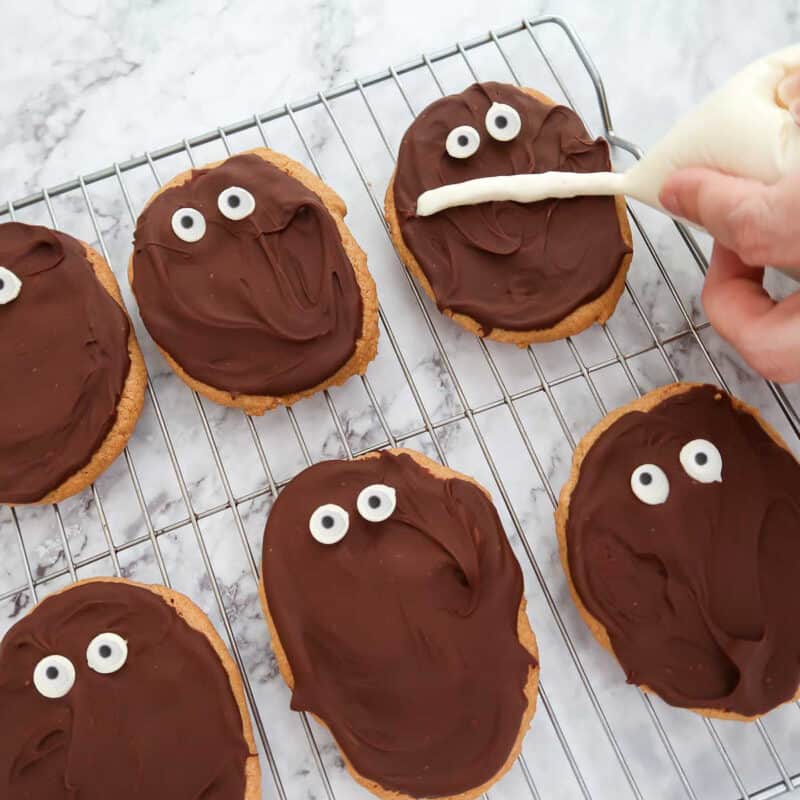
Pipe the white chocolate in strips onto the cookies and allow to harden at room temperature or in the fridge.
💡 Expert Tips and Tricks
- A cookie scoop is a great way to efficiently portion out the cookie dough and ensure evenly sized cookies.
- Be sure to let the cookies cool before adding the chocolate. It could melt or slide off if they're still warm.
- I recommend working through the white icing stage quickly, as the icing will get harder to pipe as it cools.
- Use a flat piping tip for the bandage look with the white icing.
❔ FAQs
Once the dough is no longer shiny and the edges have taken on a nice golden-brown hue, this is typically a good indication that your cookies are done.
If you've let them sit and they're getting cool but still don't seem done, put them back in the oven at 300-325 degrees F. Aim for the lower temperature if you don't want them to take on any more color, but if you don't mind, then go for 325. Give them a couple minutes and check on them again.
Yes, you could buy some pre-made peanut butter cookies or even something like Nutter Butters and then decorate them as instructed.
📝 Substitutions and Variations
- White decoration icing can be substituted for the melted chocolate. Just be aware it might not harden as fully as the chocolate does.
- If you can't find candy eyes for these Halloween mummy cookies, try piping two dots of white chocolate and using mini chocolate chips instead.
- Different candy sizes or eye colors can be used for some fun variation.
- Milk chocolate or dark chocolate can be used instead of semi sweet if that's what you have on hand.
- Other nut butters like almond butter can be used for the dough if you like.
Kristin's Kitchen Tip
This easy mummy Halloween cookie recipe is perfect for a day spent baking and decorating with your loved ones. Have fun wrapping these mummy cookies in chocolate!
🥡 Storage
Keep your mummy treats in an airtight container at room temperature for 5 days or so.
You can also refrigerate your Halloween mummy cookies if you want the chocolate to stay nice and firm. You may want to let the cookies sit at room temperature for a few minutes before enjoying.
These cookies freeze well! Make a big batch now and whip them out once Halloween gets closer.
Keep It Handy
Don't have time for this Halloween mummy cookies recipe right now? Click on or tap the heart icon on the BOTTOM RIGHT of the screen to save it for later!
😋 More Halloween Dessert Recipes You'll Love
- Monster Mash - This unique and tasty treat made with marshmallows and whipped topping is another recipe perfect for Halloween festivities!
- Easy Pumpkin Fudge - Did you know it's super easy to make your own fudge? This pumpkin version is perfect for fall and Halloween!
- Pumpkin Truffles - These adorable homemade truffles are so simple and include a yummy pumpkin filling.
- Halloween Dirt Cups - This recipe from Desserts on a Dime takes pudding cups and gives them a fun and spooky twist!
get your copy now!

Need help with dinner?
- 24 quick, delicious recipes
- 1 month of meal plans
- pre-filled grocery lists
- and more!
Halloween Mummy Treats
⭐ Did you make this recipe? Awesome! I would love to hear from you. Please give it a star rating and review below! 👇
📋 Recipe Card

Easy Peanut Butter Halloween Mummy Cookies
Ingredients
- 1 cup peanut butter
- 1 cup sugar
- 1 egg
- 12 oz semi-sweet morsels (1 package)
- 24 candy eyes
- 12 oz white chocolate chips (1 package)
Instructions
- Preheat oven to 350 degrees F.
- Combine the peanut butter, sugar, and egg in a bowl.
- Line a baking sheet with parchment paper, then use a cookie scoop to scoop out the dough and place on the parchment paper. With the back of a spoon or a spatula, flatten the balls of dough and shape them into roughly rectangular ovals.
- Place in the oven and bake for about 15 minutes until the surface of the cookies is no longer shiny and the edges are lightly browned. Cool on the cookie sheet for about 2 minutes and then transfer to a wire rack.
- When the cookies are completely cool, melt the semi-sweet morsels in the microwave by microwaving on 50% power, 30 seconds at a time, stirring in between. Place about a tablespoon of melted chocolate on each cookie, and spread it evenly over each, almost to the edges.12 oz semi-sweet morsels
- Place the candy eyes on the chocolate and press gently so that they stick, then freeze the cookies for about 30 minutes or until the chocolate sets.24 candy eyes
- Melt the white chocolate chips using the same technique as the semi-sweet. When the white chocolate is melted, spoon it into a candy decorating bag.12 oz white chocolate chips
- Remove the cookies from the freezer, and, working quickly, pipe bands of white chocolate over the cookies to look like mummy wrappings. Wait for the chocolate to harden at room temperature or place in the refrigerator to speed up the process.
Notes
Prep Tips:
- Use a cookie scoop to keep the cookies similar in size. If you don't have one, about 1 ½-2 tablespoons of dough per cookie works well.
- Let the cookies cool completely before adding the chocolate layer. If they're still warm, the chocolate can become runny and difficult to decorate.
- Work fairly quickly when piping the mummy wrappings so the white chocolate stays soft enough to flow through the decorating bag.
- A flat piping tip works especially well for creating the mummy-band effect.
Variations:
- Use white candy melts instead of white chocolate chips for an easier decorating option.
- Substitute white decorating icing for the white chocolate. Icing that already comes in a decorating bag can make this step especially easy.
- Try different candy eye sizes or colors for a fun variation.
- Use milk chocolate or dark chocolate instead of semi-sweet if that's what you have on hand.
Serving Suggestions:
- Serve these at Halloween parties, school celebrations, or fall gatherings.
- Package individual cookies in small treat bags for Halloween party favors.
Storage:
- Store the finished cookies in an airtight container at room temperature for up to 5 days.
- You can refrigerate the cookies if you prefer a firmer chocolate topping, but let them sit at room temperature for a few minutes before serving.
- Freezing is possible, but the decorative chocolate and candy eyes may not look quite as nice after thawing.
Video
Nutrition
Nutritional information is an estimate. The nutritional values for your final dish may vary based on measuring differences and products used.
Update Notes: This post was originally published in October 2016, and was republished with tips, step by step photos, and a recipe change in September 2026.
Thanks so much for reading! I also invite you to follow me on FACEBOOK, PINTEREST, or INSTAGRAM to keep up with what's going on in my kitchen.
And you might want to check out my Dizzy Busy and Hungry store on Amazon for a whole bunch of great kitchen products I love!
Happy cooking!



Beth says
Cuteness overload. I am going to make these for our annual Halloween party. We have had to scale it down over the years but we still have a great time.
Sharon says
Not only are these cookies delicious, but they are also so adorable too! Perfect for Halloween parties.
Jeff says
These are so fun. The kids will love them. I am a fan of anything peanut butter.
Rika says
These mummy cookies are so cute. We love peanut butter too, can't wait to make these next month.
Emily says
Im so excited for Halloween and think these treats are so cute! Can’t wait to make with my kids!
Pat says
My grandkids will love these!
Linda says
These are cute and the kids will love them being peanut butter.. Thanks for sharing at What'd You Do This Weekend?
Wishes for tasty dishes,
Linda
Helen at the Lazy Gastronome says
Cute cookies!! I love the fun side of Halloween! Thanks for sharing on the What’s for Dinner link up and don’t forget to leave a comment at the party – Next week’s features that also leave a comment get pinned, yummed and tweeted!
Kristin King says
Thanks, Helen! I will definitely stop by! 🙂