








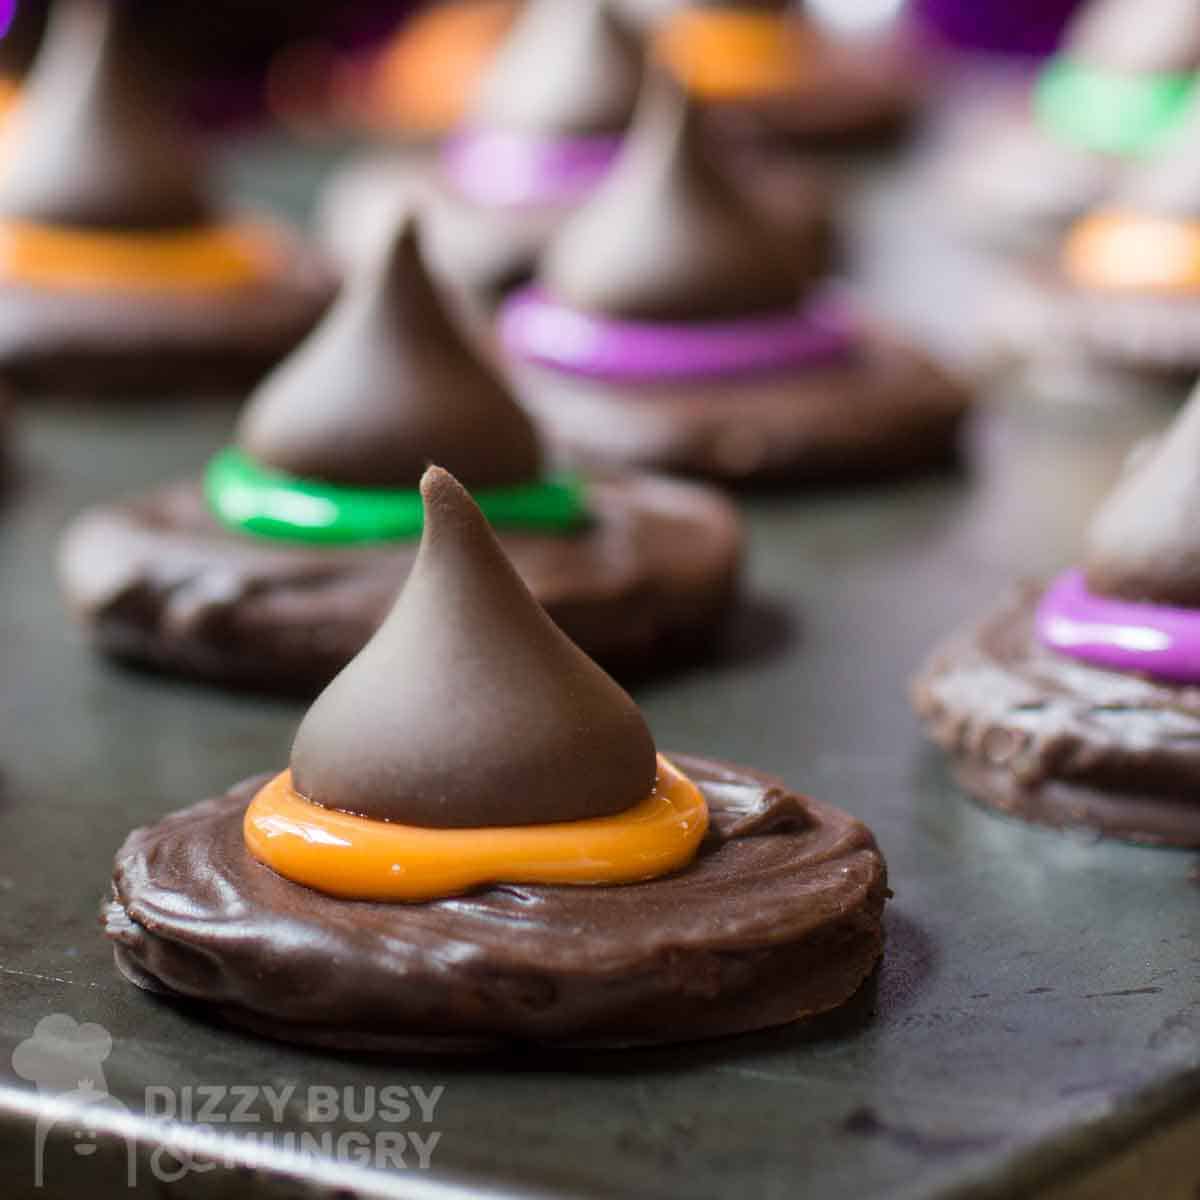
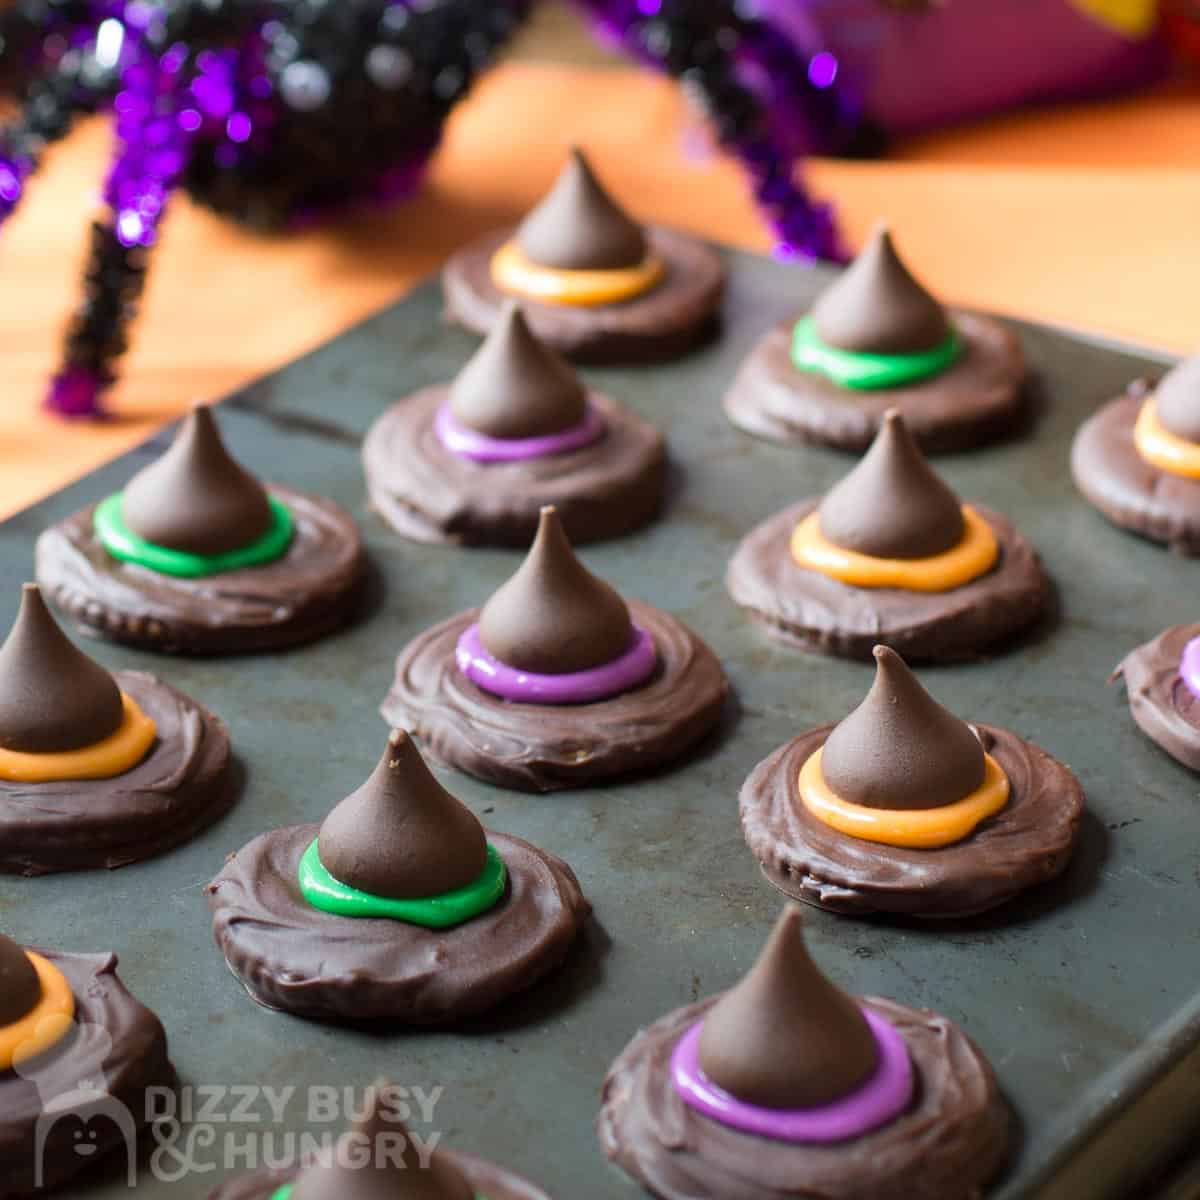
With no baking required, these Easy Halloween Cookies are amazing for the fall! Shaped like witch hats, this dessert is festive and adds some whimsy to any dessert tray.
Get the kids involved to turn these witch hat cookies into a fun activity to embrace the spirit of Halloween! These are great for Halloween parties and you won't even need to turn on the oven to put them together.
Jump to:
🩵 About This Recipe
Bring some festivity to your fall and Halloween season with these adorable witch hat cookies! With no baking required, this is a super simple treat that's great for parties, Halloween dessert, and more.
Combine buttery crackers with rich chocolate for the ultimate sweet and salty treat. So easy to make, you can easily get the kids involved in the process for a fun fall activity.
And if you want even more autumnal desserts, try my Pumpkin Spice Dump Cake or these Mummy Apple Hand Pies from Easy Peasy Meals!
What readers are saying...
These are perfect for a Halloween party. I love how easy they are to put together.
- Beverly
🧂 Gather Your Ingredients
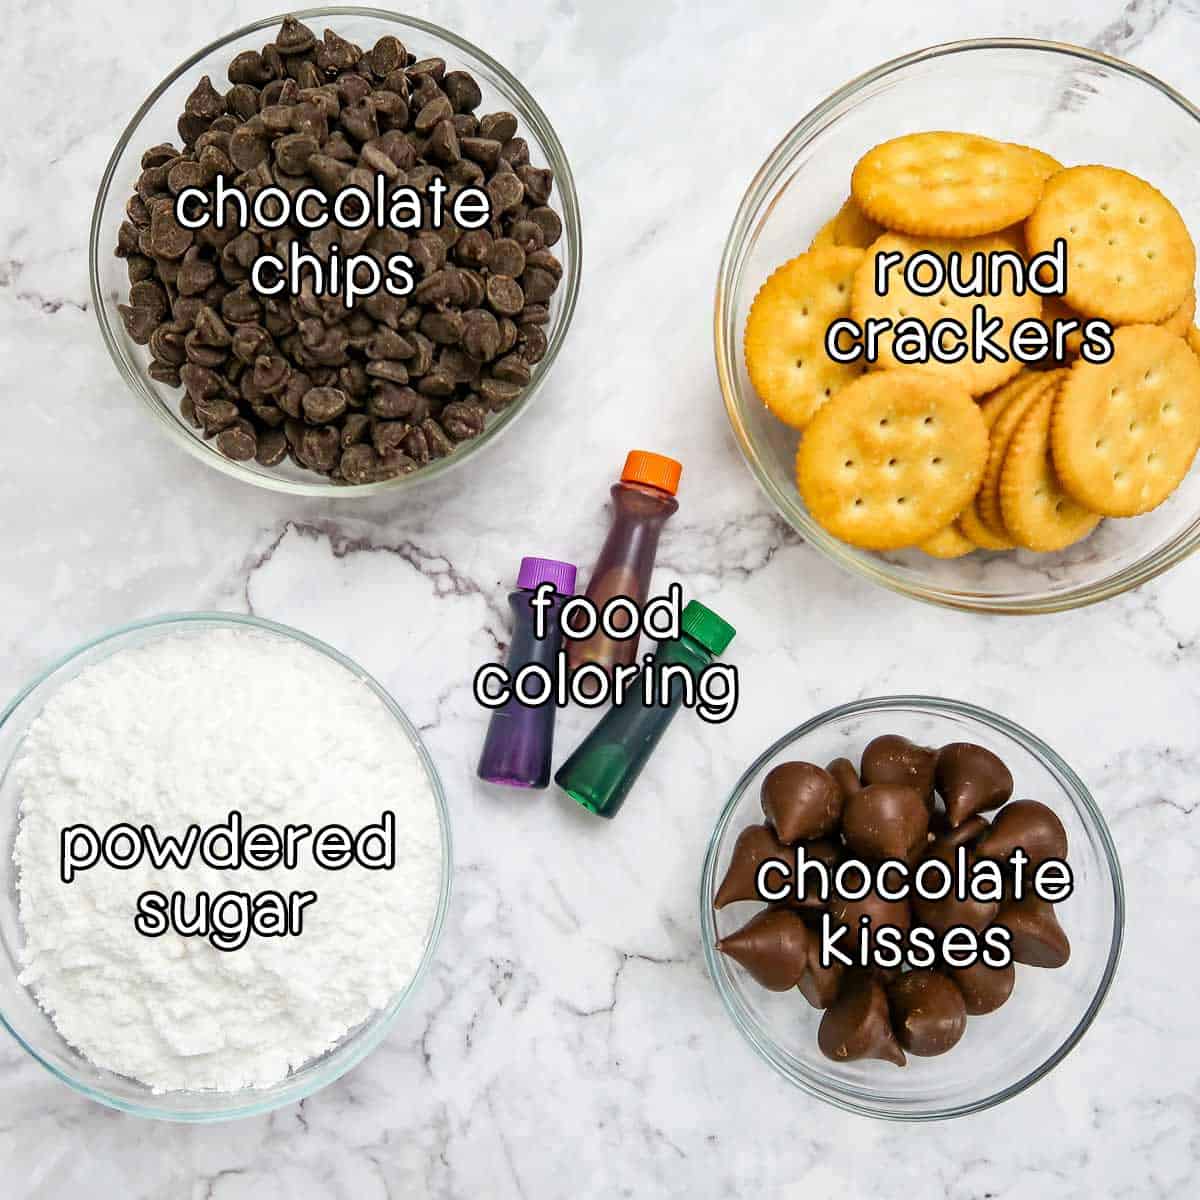
- chocolate chips - you'll melt these down and use them to coat the crackers.
- round crackers - the base of these cookies actually isn't a cookie at all, but a buttery cracker that provides a delicious salty balance!
- powdered sugar - used to make the icing.
- food coloring - choose whichever festive colors you like for the "bands" on the hats.
- chocolate kisses - form the tip of the hat!
🔪 Let's Make Easy Halloween Cookies!
(Or click here to jump right to the recipe card with measurements!)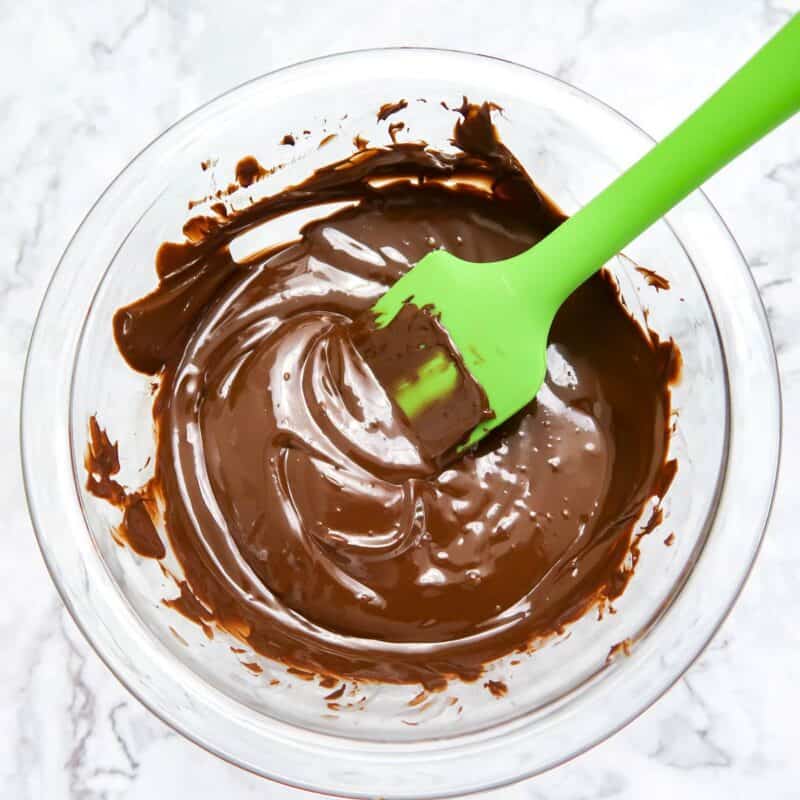
Melt Chocolate
Microwave your chocolate chips for about 40 seconds on half power, stir, then microwave in 20 second intervals (also on half power) until everything is melted.
Coat Crackers
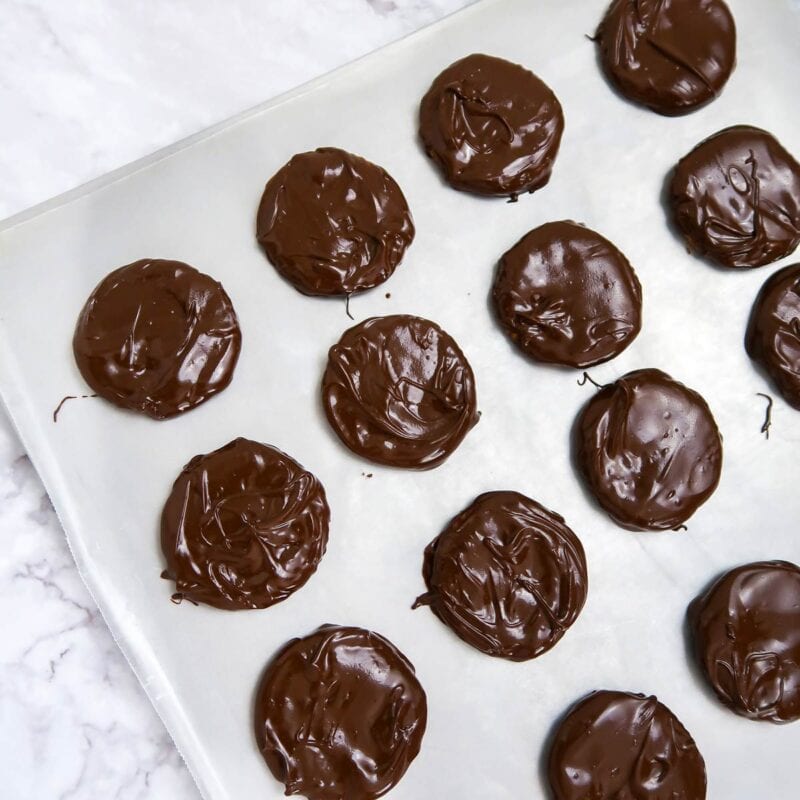
Dip each cracker into the chocolate and scrape off the excess. Then, place them on a tray lined with wax paper and refrigerate until the chocolate hardens.
Dye Frosting
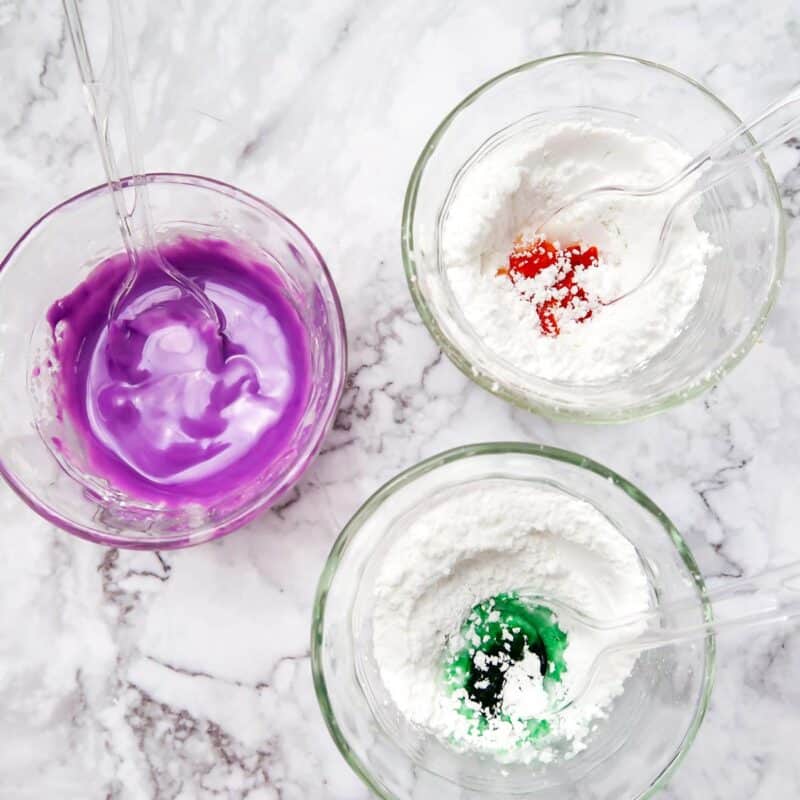
Add powdered sugar and water into 3 separate bowls, then add a few drops of each food coloring shade. Mix until the icing stiffens, then continue to add food coloring until the hues are to your liking.
Add Kisses
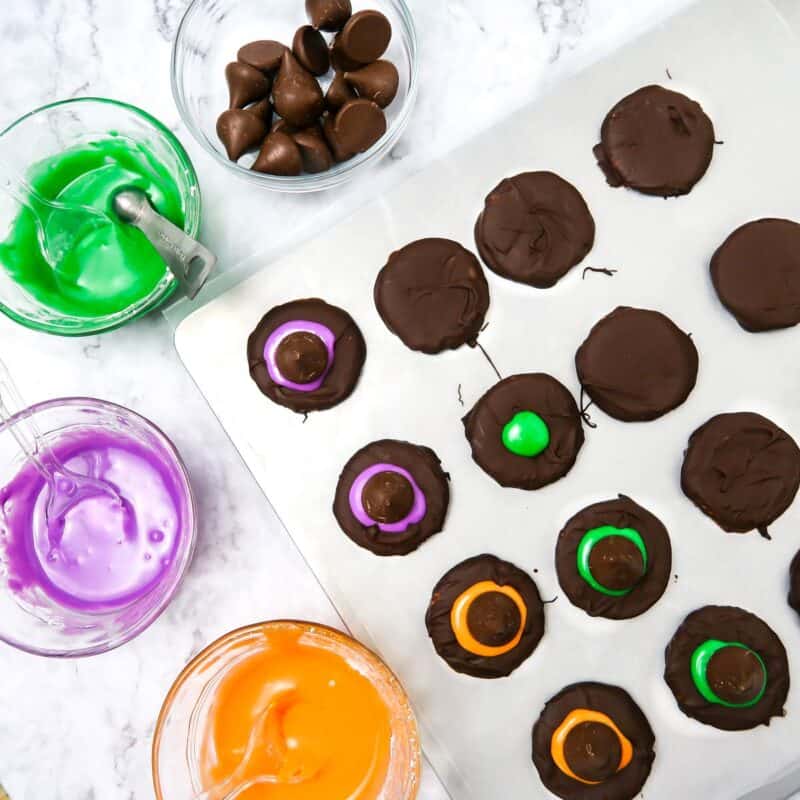
Take your crackers out of the fridge, place a dollop of icing into the center of each, then press a chocolate kiss into each so that a ring of icing forms around the bottom. Allow to set 15 minutes or so before serving.
💡 Expert Tips and Tricks
- Don't worry too much about getting the chocolate coating perfectly smooth and even - the icing and kisses will cover up a lot of the surface.
- Add the water very gradually to the icing to prevent it from getting too thin. You can always add more if you need to.
- Be sure to mix the icing in separate bowls to keep the colors bright and vibrant.
- Unwrap the kisses before assembly to keep the process moving.
- Be sure you allow the icing to fully set before you add the kisses. This will prevent them from sliding around or falling off.
❔ FAQs
Yes! Since there's no baking involved, you could definitely let even young kids help with the decorating process.
If you want, you could experiment by using other kinds of cookies, or even use large peanut butter cups for the base of the hat instead.
To make these extra witchy, stick some mini pretzel sticks into mini peanut butter cups to make edible broomsticks!
Have extra crackers? Whip up this Jack O Lantern Cheese Ball for a fun and delicious Halloween appetizer!
📝 Substitutions and Variations
- Instead of the powdered sugar icing, you could also use some white candy melts and dye them (or choose colored candy melts).
- Use fun variations of kisses, like ones with peanut butter or caramel, for a fun flavor surprise!
- If you want something sweeter, you could use chocolate mint cookies instead of the crackers. You won't have to dip them in chocolate!
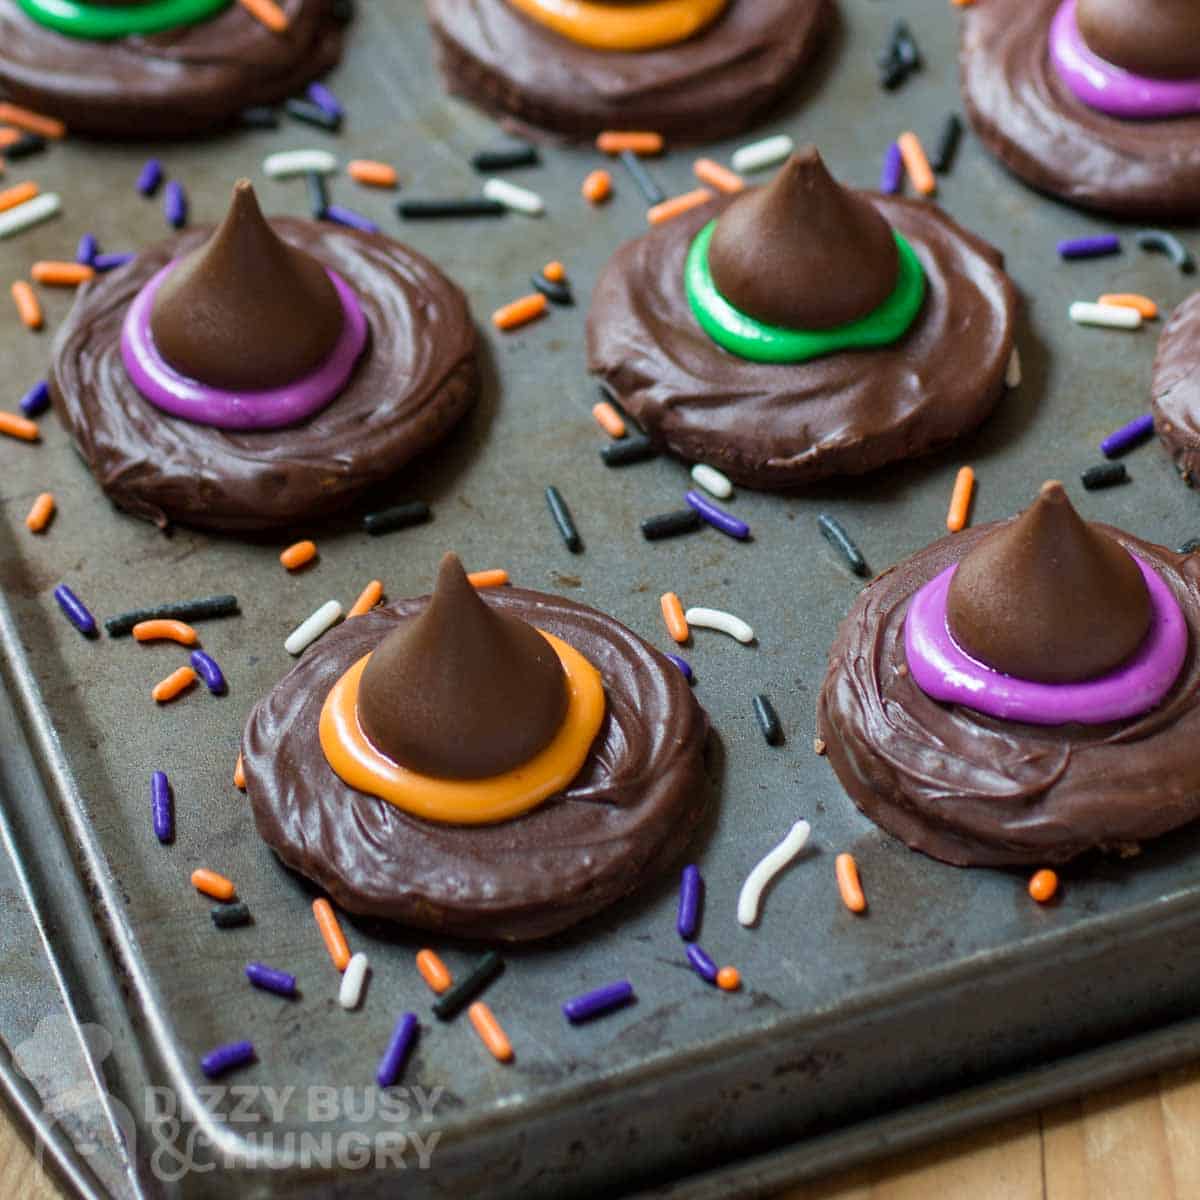
- For more decor, drizzle with additional icing and add festive sprinkles.
- This recipe can also be used to make top hats by adding chocolate covered marshmallows instead of the chocolate kisses.
Kristin's Kitchen Tip
Make sure you have all of your ingredients and supplies ready to streamline the dipping process before the chocolate starts to cool and harden again!
🥡 Storage
Store your easy Halloween cookies in an airtight container in a cool, dry place for up to 5 days or so.
If your kitchen gets particularly warm, you can also keep these witch hat cookies in the fridge. I recommend letting them sit for a couple of minutes at room temperature before enjoying again.
If you store your easy Halloween cookies in the freezer, just make sure it's in a moisture-free container (chocolate and moisture do NOT get along). Then, you could either thaw them in the fridge or out on the counter, or try eating them frozen!
Keep It Handy
Don't have time for this easy Halloween cookies recipe right now? Click on or tap the heart icon on the BOTTOM RIGHT of the screen to save it for later!
😋 More Fall Dessert Recipes You'll Love
- Pumpkin Cake Pops - Made simple with cake mix, these adorable and festive cake pops are perfect for all of your fall treat needs.
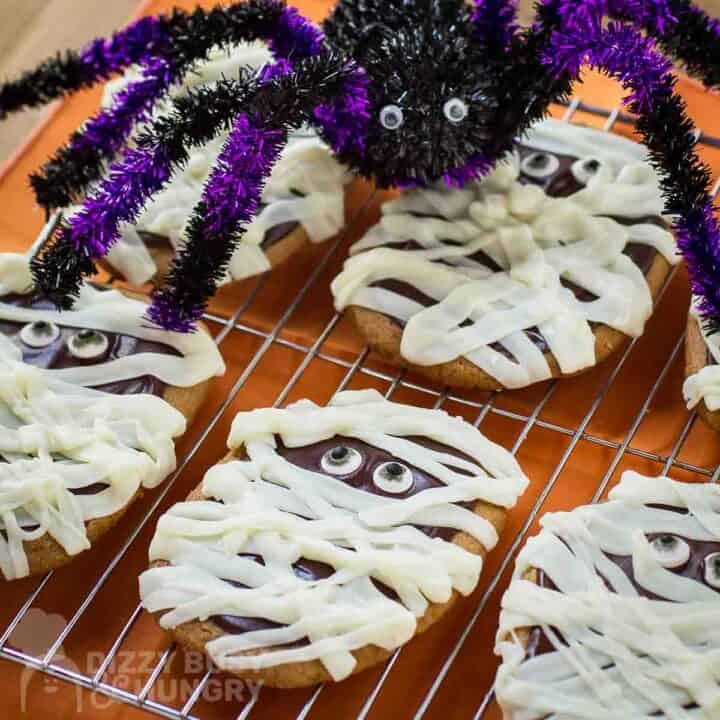
- Halloween Mummy Cookies - Pair your witch hat cookies with these adorably spooky mummies!
- Pumpkin Spice Cake - A classic and comforting cake topped with a rich creamy frosting for the ultimate autumn dessert.
- Halloween Spider Cookies - This amazing cookie dessert from Moore or Less Cooking combines a yummy peanut butter cookie with a chocolate peanut butter cup face and chocolate legs!
get your copy now!

Need help with dinner?
- 24 quick, delicious recipes
- 1 month of meal plans
- pre-filled grocery lists
- and more!
Witch Hat Cookies
⭐ Did you make this recipe? Awesome! I would love to hear from you. Please give it a star rating and review below! 👇
📋 Recipe Card

No-Bake Witch Hat Easy Halloween Cookies
Ingredients
- 12 oz semi-sweet morsels (1 package)
- 24 round flat cookies or buttery crackers (I used Ritz crackers)
- 1.5 cup powdered sugar (divided)
- 1.5 tablespoon water (divided)
- Orange, green, and purple food coloring (or use classic colors and mix to get the desired color)
- 24 chocolate kisses (unwrapped)
Instructions
- Place the semi-sweet morsels in a microwave safe bowl. Microwave on 50% power for 40 seconds, then stir, then microwave on 50% for 20 seconds at a time, stirring in between, until the morsels are completely melted.12 oz semi-sweet morsels
- Place a sheet of wax paper on a cookie sheet or other flat tray. Dip each round cookie or cracker in the chocolate, scrape off the excess, and place on the wax paper. Refrigerate until the chocolate hardens.24 round flat cookies or buttery crackers
- Add ½ cup powdered sugar and ½ tablespoon water in each of 3 small bowls. Add a few drops of food coloring in each to create the orange, green, and purple colors. Mix well until the icing is stiff. Add more food coloring, a drop or two at a time, until the colors are vibrant enough for you. If the icing is too stiff, add a little water. If it is too runny, add a little more sugar.1.5 cup powdered sugar, 1.5 tablespoon water, Orange, green, and purple food coloring
- Remove the chocolate covered rounds from the refrigerator. Drop a dollop of icing (about ¼ teaspoon) to the center of each, then press down with a chocolate kiss so that the excess icing forms a ring around the bottom.24 chocolate kisses
- Allow the icing to set for 15-20 minutes before serving.
Notes
Prep Tips:
- Have the wax paper ready before you start dipping the cookies so you can work quickly once the chocolate is melted.
- Don't worry about getting the chocolate coating perfectly smooth-the icing and chocolate kiss will cover the center of each cookie anyway.
- When making the colored icing, add the water gradually. It's much easier to thin a stiff icing than to fix one that's too runny.
- If you're making all three icing colors at once, use separate small bowls so the colors stay clean and vibrant.
- Unwrap all of the chocolate kisses before you start assembling the hats. This makes the final decorating step go much faster.
- Give the icing enough time to set before moving or stacking the cookies so the chocolate kisses stay securely in place.
Variations:
- Use melted white chocolate instead of the powdered sugar icing, or try colored candy melts for an especially easy decorating option.
- Choose different varieties of chocolate kisses, such as peanut butter or caramel-filled, to add a surprise flavor.
- Use thin chocolate mint cookies instead of dipping the crackers in chocolate for a shortcut.
- Drizzle the finished witch hats with melted peanut butter, caramel, or white chocolate and add festive sprinkles.
- Replace the chocolate kisses with chocolate-coated marshmallows to turn the witch hats into cute little top hats.
Serving Suggestions:
- Arrange the witch hats on a platter for Halloween parties, classroom treats, or fall gatherings.
- Alternate the orange, green, and purple hats for a colorful display.
- Package a few in individual treat bags for fun Halloween favors.
Storage:
- Store the finished witch hats in an airtight container at room temperature for up to 5 days.
- Keep them in a cool, dry place so the chocolate doesn't soften or develop condensation.
- Refrigeration is fine if your kitchen is warm, but allow the treats to sit at room temperature briefly before serving for the best texture.
Video
Nutrition
Nutritional information is an estimate. The nutritional values for your final dish may vary based on measuring differences and products used.
Update Notes: This post was originally published in October 2016, and was republished with tips, step by step photos, and a recipe change in September 2026.
Thanks so much for reading! I also invite you to follow me on FACEBOOK, PINTEREST, or INSTAGRAM to keep up with what's going on in my kitchen.
And you might want to check out my Dizzy Busy and Hungry store on Amazon for a whole bunch of great kitchen products I love!
Happy cooking!


Emily says
These are absolutely perfect for Halloween! Thanks for linking up at Merry Monday; I'll be including your witch hat cookies in my Party Features this coming week. We'd love to have you link up again 🙂
Grandmas House DIY says
I'm featuring you this week! Thanks for sharing with us at the To Grandma's house we go link party!
Kerryanne says
These are adorable Kristin.
Thank you for sharing this recipe at Create, Bake, Grow & Gather this week. I'm delighted to be featuring your Halloween recipe at Friday's party and pinning too.
Hugs,
Kerryanne
Angelina says
These are so cute! Thanks for sharing with Thursday Favorite Things!
Helen at the Lazy Gastronome says
Thanks for sharing at the What's for Dinner party! Hope to see you this Sunday too!
Amy says
Such a cute little Halloween cookie. Thank you for sharing at Wonderful Wednesday.
Michele says
These are super-cute! I love that they're no bake. Perfect for Halloween!
Jennifer says
These are so adorable! I love it!
Thanks so much for sharing (and for linking up to the last SHINE Blog Hop).
Wishing you a lovely day.
xoxo
Rhonda says
Stopping by from Sunday's Best. These hats are adorable, and they look yummy too. Thanks for sharing.
Kristin King says
Thanks, Jill! I really appreciate it! Love your party!